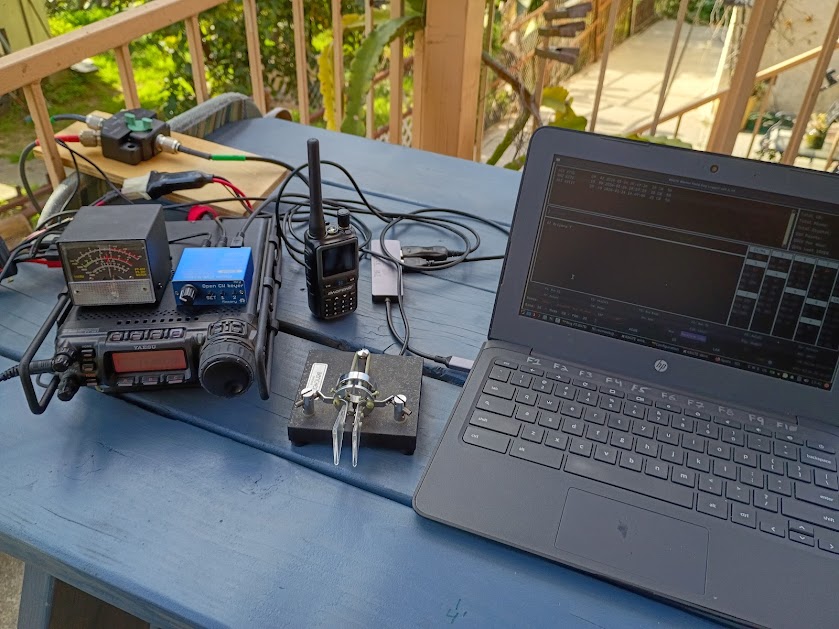
I’m not a contester, but I like listening to fast CW and casually making QSOs with more serious folks. I think this makes me a better operator too. This year, I wanted to experiment with computer logging and computer generated CW. Everything was setup on my picnic table and run off a battery. I ended up spending most of the day hanging out with my BBQ, but I still made time to get several QSOs in the log. I had fun, and I’m going to do it again in the future. Notes for future me below, so I can remember how to do it next time.
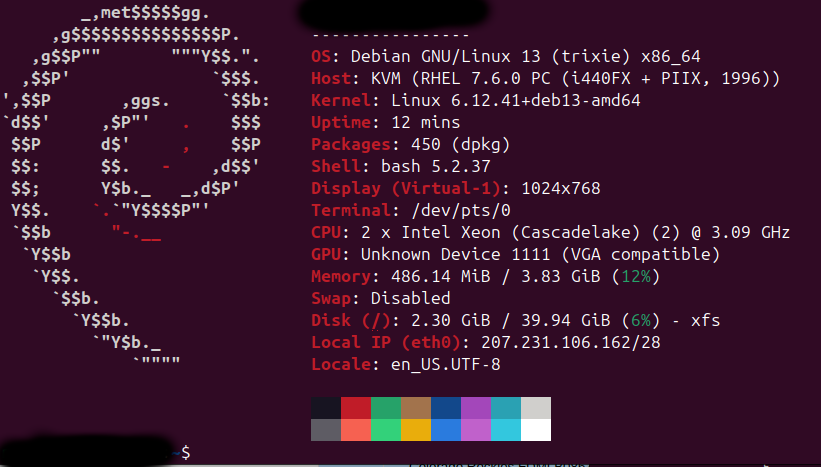
Laptop is a eWaste Chromebook running Debian 13 from a fresh install
apt install btop screen pipx flrig
pipx install winkeyerserial
pipx install wfdlogger
pipx ensurepath
groupadd dialout <user>
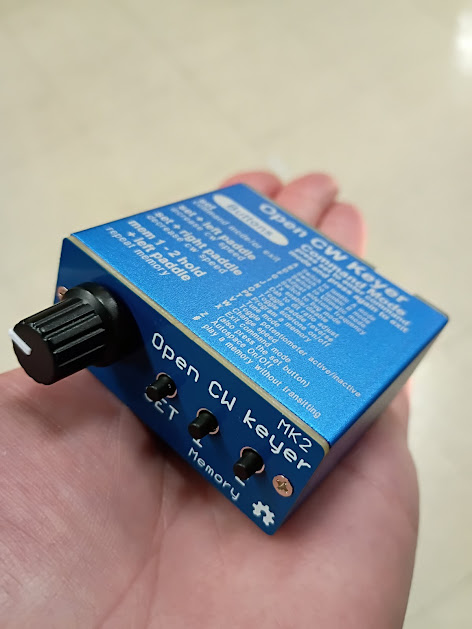
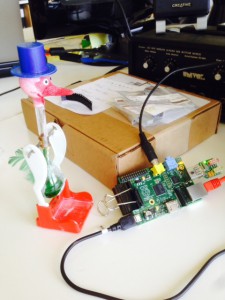
Connect a winkeyer, then run winkeyserial in a terminal. I used a Open CW MK2 keyer from Aliexpress, around $30. This should show up at /dev/ttyUSB0. If everything is working, the speed knob on the font of the unit should change the speed in the winkeyserial gui.
Connect USB CAT cable to the radio, run flrig and configure baud rate and port (probably /dev/ttyUSB1). Setup server port so wdflogger can record band changes. I can’t remember what the logging program uses when I wrote this but it’s easy to find.
Run wfdlogger in a terminal. This will open a gui. Set callsign, class, and ARRL section. Start logging QSOs, don’t burn whatever is on the grill and have fun. Oh, can you grab me another beer from the fridge if you go inside?
Software
https://github.com/mbridak/WinterFieldDayLoggerSoftware
https://github.com/mbridak/PyWinKeyerSerial
Hardware
Yaesu 857D
W4LMT’s Bencher key
Open CW Keyer mk2
Trashtop
Power
Cheap, deep cycle battery from the auto parts store
100W solar panel
Amazon charge controller
Antennas
Aliexpress stainless vertical
EFHW, 40M (49:1 + ~66′ of wire)