CDMX Tracks y fotos


Total distance: 21.64 mi
Max elevation: 7543 ft
Total climbing: 1639 ft
Total time: 03:20:13
Download file: positions 2019-01-07 19_50_11 iPhone5,1 FFFFFFFF9BC501D2864343A1AB5D43612FF94822.gpx
Total distance: 15.66 mi
Max elevation: 7901 ft
Total climbing: 435 ft
Total time: 02:17:33
Download file: positions 2019-01-08 21_46_47 iPhone5,1 FFFFFFFF9BC501D2864343A1AB5D43612FF94822.gpx

Total distance: 2.24 mi
Max elevation: 7367 ft
Total climbing: 105 ft
Total time: 01:37:00
Download file: positions 2019-01-10 21_43_31 iPhone5,1 FFFFFFFF9BC501D2864343A1AB5D43612FF94822.gpx

Zen and the Art of Motorcycle Camping

Camping is basically pretending to be poor for a couple nights, so it shouldn’t be expensive.  That being said, there are entire brick and mortar stores filled with expensive, space-age camping shit you probably don’t need.  Seemingly, one way to justify the fact that a customer just bought a new camping stove from REI that uses expensive proprietary fuel pellets for $87, or spent $375 on a tent with carbon fiber poles is to blog about it on the internet.

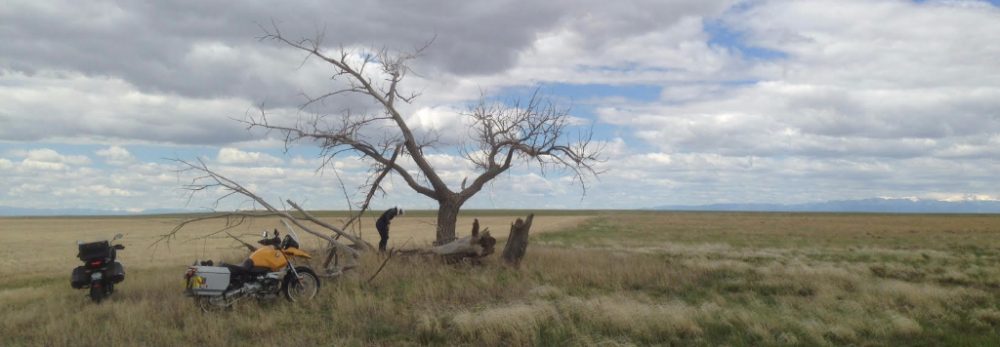
I’m going to do the opposite.  I’m a cheap bastard.  I like camping.  I like to go camping with a motorcycle loaded with gear.  I pack all my cooking stuff in a handy tote.  Let me show you at how I do it.

1) Cheap aluminum cook set – I got mine for less than $5.  It has a plastic cup, frying pan, plate and a tiny pot.  These can take a beating, just bend them back into some sort of shape and you’re good to go!

2) Silverware – Plastic disposable utensils suck.  Camping specific utensils equally suck.  Go to any thrift store and pick up cheap silverware.  If you need to use a butter knife as a flathead screwdriver and fuck it up, the item was only $0.50, no big deal.  I would like to add that a sharp paring knife is essential.  I dropped some serious coin on mine, $12.

3) Single burner stove – I picked mine up for under $20 and it came with a can of propane/ butane fuel.  These work pretty good and you can get fuel for them pretty much anywhere that sells camping stuff in North America.

4) Hot Sauce/ spices – You can get small bottles of sauce for a buck at the grocery store.  Having a variety is extremely important.  Don’t skimp on this one!  Salt and Pepper you can steal from a restaurant (or buy for $1) and small containers of spices are cheap.

5) Olive Oil – This stuff really needs no introduction.  Better than Vegetable Oil; higher smoke point.

Not pictured is a can opener – This is essential!

image

PIZZA!

I have a problem.  A pizza problem; I absolutely love everything about pizza. So, what better way to enjoy pizza than to build one DIY style?  With his particular concoction, you don’t need to let the dough rise so you can eat pizza faster.  Let’s start with the basic dough recipe.  In a medium to large mixing bowl add the following and mix very well.  The dough should be slightly sticky and dry.  This should result in 3 12″ thin crust pies.

3 cups flour
1 (.25 ounce) package active dry yeast
2 tablespoons olive oil
1 teaspoon sea salt
1 tablespoon white sugar
1 1/4 cup warm water (110 degrees F)

Let’s get into the sauce.  While this is still extremely experimental for me at the moment, so I will show you what I’ve been using recently. If I was in your kitchen I would probably add quite a bit more into the sauce depending on what is in your spice rack.  All of this can be mixed right into the can of tomato sauce; stir well.

1 can tomato sauce
1 tablespoon oregeno
1 teaspoon sugar
1 heavy squirt of Sriracha hot sauce
1 teaspoon garlic salt

Roll out the dough using a generous amount of flower to keeps things from staying sticky.  Top the pizza with a generous amount of sauce and fresh graded mozzarella cheese.  Vegetables that have a lot of water should be cut thin, salted to extract water then dried to keep the crust crispy.  Use a bit of olive oil around the crust to enhance flavor.  Bake on a pizza stone or baking sheet for 20-25 minutes at 375 degrees F.

Enjoy!